

Money by ~richardxthripp Jar by ~dropoflight
Gimp Paint Studio (Recommended addon)
Suggested Prerequisites:
An Understanding of Layers
An Understanding of Layer Masks
Another Layer Mask Video (highly recommended)
Free Gimp eBook - Principles of Photo Editing
Part 1: How To Use Gimp To Make the Jar
I felt that this part of the gimp tutorial was a bit tricky, and felt it was best explained as a video.
Part 2: How To Use Gimp To Make the Sticky Note

 |
| Although it's very subtle, the gradient makes the note feel more "alive" |
Adjust the font size until it is something you're happy with. I used this font.
Right-click on the text layer, and click "Text To Path" this will create a path from the text you typed.
Create a new layer. Name it TIPSBrush
Make sure you're editing the TIPSBrush layer, and right-click on the newly created path from text and click "path to selection" get your brush tool, and set it to the "chalk" preset. This ONLY works if you have the GPS addon installed.
Set your brush color to black, and fill in the selection with the brush tool so that it creates an effect similiar to my finished notepad shown above.
Click select>>>none underline the text with a single stroke. This is a lot easier with a wacom tablet, but definitely doable with a mouse.
Part 3: How To Use Gimp To Place the Note on the Jar
right-click on your completed sticky note, and click "new from visible."
This will create a new layer from the visible layers for you to place into your jar.
Simply drag the newly created layer and drop it into the opened jar image.
You should end up with something like this:
 |
| That looks good, but the sticky note wouldn't look so perfect. Let's make it look more real. |
 |
| That's better, but the curve of the bottle would make the top have a slight arc. |
Using the paths tool, create a path that runs across the top corners in a slight curve like this:

 |
| The sticky note looks like it was placed randomly, and looks much more in place now. |
Open up the money file you previously downloaded.
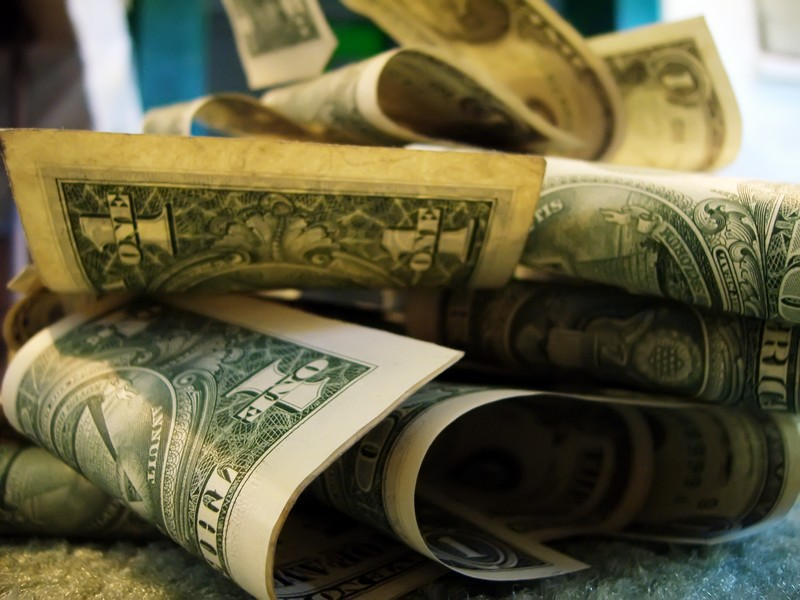
After your path is completely made, press the enter key to make your selection. Press edit>>>copy or CTRL+C to copy the selected money from the image Switch back to your Tip Jar Press CTRL+V or click edit>>>paste to paste the previously copied money into the image.
In the layers dockable dialog, you will see a new layer has been created called "floating selection." right click on that and click "new layer." this will place the money into your tip jar image.
Rotate the money, and place it behind the jar and notepad image.
Duplicate the money layer. click on the rotate tool, and rotate the duplicated money tool 180 degrees. Move both money layers around until you are happy with you come up with.
You may have to erase some "floating pieces" of money and also hide some straight edges behind the notepad. I ended up with this:
|
| You'll notice I made some tweaks to how the sticky note looks. I used the same tools shown above, but later decided that it didn't look as good as I wanted it to look and started over. |

maybe it will be better if you use IWarp in the edges of the note, like in this tutorial:
ReplyDeletehttp://www.youtube.com/watch?v=d_nDT4Hah80
That is definitely a possibility! Thanks for the suggestion.
ReplyDeletegreat .. thank you for this advice
ReplyDeleteTo remove the jar from the background, does the background have to be white?
ReplyDeleteYou guys, Always you sharing different different and i feel better to see your tutorial .
ReplyDeleteI'm so glad to see this post .
ReplyDeletePerfect tutorial. Gathered some new techniques. Thanks a lot
ReplyDeleteclipping path
clipping path service
Background Removal