What you'll need:
A basic understanding on how to use gimp's layers, layer modes, and layer masks
A basic understanding on how to use gimp's selections, and understanding how they work.
two stock images from deviantart.com. Here are the files I used:
Field
Clouds
Suggested items:
Wacom Tablet (For shading the tornado.)
My eBook on Layer Masks - This is crucial to any advanced editing. If you get good with layer masks, you'll get good with Gimp.
Here's the result:
Step 1 How to use Gimp to make the field look dark and cloudy
In the first part of this lesson, we're going to focus on how to use gimp to make the field more dark, more similar to how it would look in a real tornado.
Create a new layer, name it "Yellow Skycast"
use scissors tool to create a rough skyline selection like this:
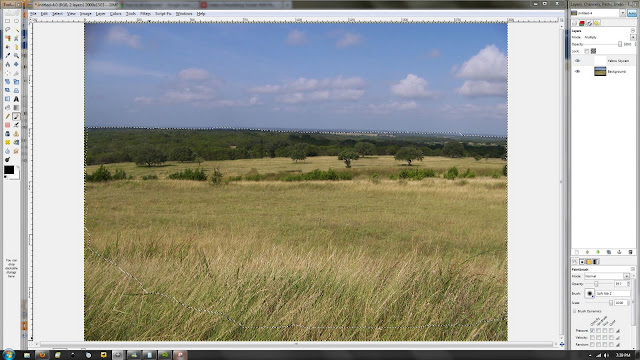 |
| I used the scissors tool to roughly select the skyline, and then closed the shape by clicking into the grass a few times. |
Deselect all by pressing select>>>none
fill the layer (not the mask)with White your image should look like this:
 |
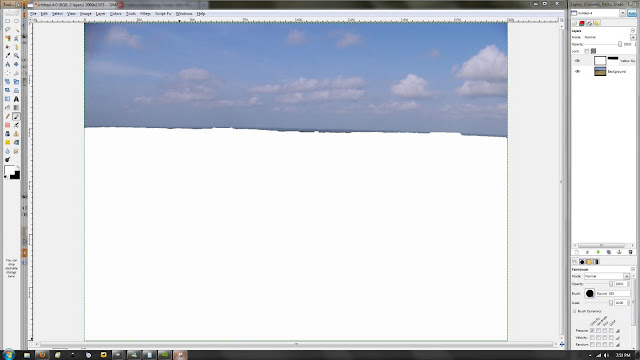 |
| Now that we have the skyline figured out, let's make it a bit easier to clean up that roughed in skyline. |
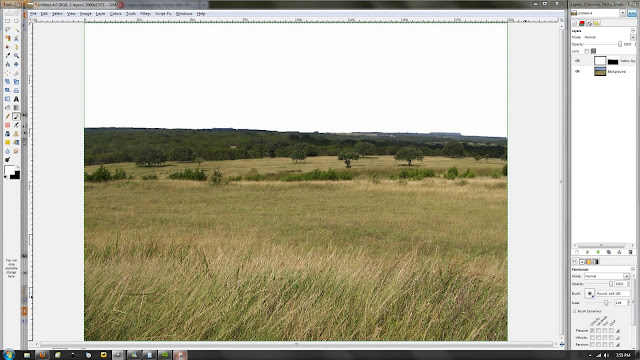 |
| Now we can create some fog. |
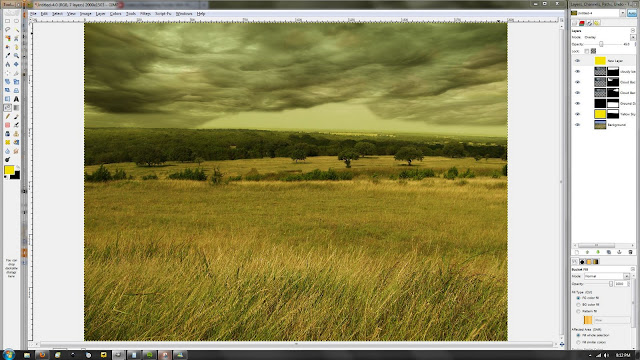
Set the Yellow Skycast Layer mode to "color" and fill the layer with a yellow color. Adjust the opacity to 32
Duplicate the yellow skycast layer, rename the duplicated layer "Ground Darken"
click on the darken layer's layer mask and click colors>>>invert
Set the ground darken layer mode to overlay.
Fill the ground darken layer with black. Adjust the opacity to a level you like. I set mine to 54), and it looks like this:
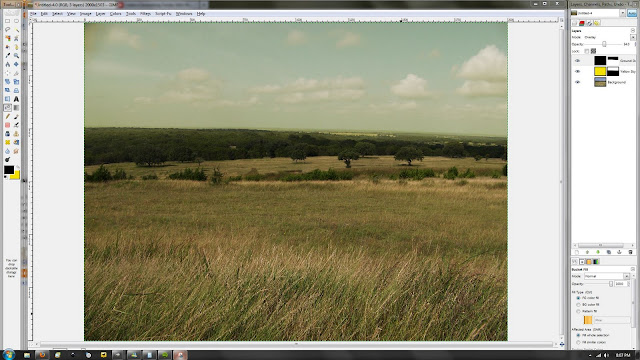 |
| Now that our image looks like like we want it, let's add the clouds. |
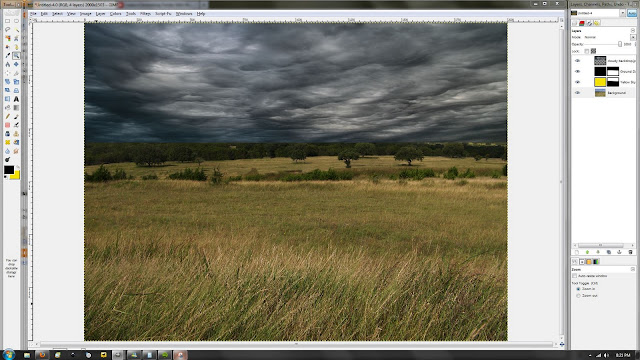
click file>>>open as layers. Brows and open the clouds file. This will insert the cloudy backdrop as a new layer.
Scale the cloudy backdrop layer down so that it roughly fills out the sky like the image below:
 |
| Now we have our clouds where we want them. Now I'm going to show you how to use gimp to make cloud shapes with the scissors tool. |
 |
click select>>>none to deselect the selection.
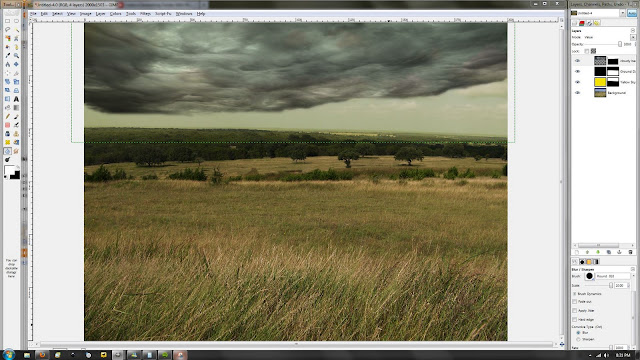
Fill in the probable "gaps" around the edge of the clouds. Set the clouds layer mode to "value."
Using the blur tool on a high setting, blur the edge of your layer mask to give your clouds a softer look.
Mine ended up like this:
 |
| Be picky. Don't hesitate to undo all the way back to the cloud selection and creating another cloud. I did these steps several times before I was finally happy with the clouds I got. |
hit CTRL+A to select all
make sure you're on your layer mask. Using the bucket tool, and ensuring that the bucket tool is set to "fill whole selection" fill the layer mask with white. This will clear the mask so we can create another cloud.
Set the backdrop cloud 1 layer's opacity to 65
using the same steps as before, create a second cloud like so:
Duplicate the Backdrop Cloud 1 layer and rename the duplicated layer to backdrop cloud 2.
re-do the steps to remove the layer mask like you did before
right-click on the yellow skyline layer mask and click mask to selection
switch back to the cloud backdrop 2 layer's layer mask (which should be all black right now.)
click select>>>inverse
fill the selection with white
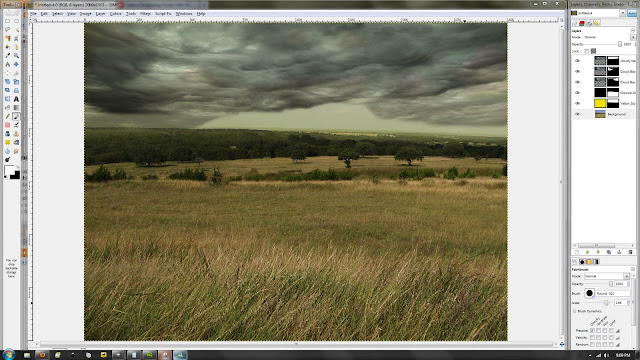
follow the steps to create a third cloud. Mine ended up like this:
 |
| Tornados often have an eerie yellow tint to them. Next up, I'll show you how to use gimp to add that tint. |
 |
| I like this, but the ground is too light for this weather. Let's darken the ground. |
add a layer mask to the ground darken layer.
using the blend tool, create a black to white gradient starting from the ground and ending about 2/3'rds of the way to the bottom of the photo. I ended up with this:
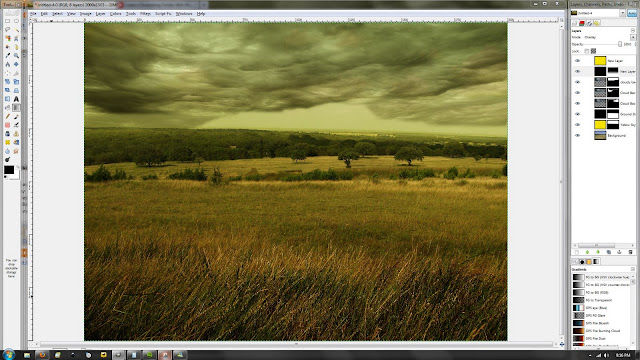 |
| That matches a little better |
Using the paths tool, create a path to outline your general tornado shape like so:
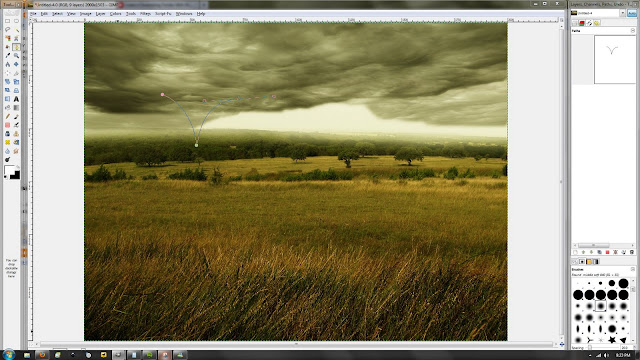 |
| Getting the tornado just right may take you a few tries. Be picky about your tornado shape, and don't hesitate to restart your tornado. Look at some online, and try to find a shape that looks real. |
click file>>>open as layers
open the tornado backdrop image
using the scale tool, scale the tornado down until it is just a tad bit larger than your tornado shape.
right-click on your path and click "path to selection."
add a layer mask to the tornado shape, and set the layer mask to "selection" this will create a tornado shape.
click filters>>>blur>>>gaussian blur. Give the layer mask a faint blur
It ended up like this:
Duplicate the tornado shape layer. Name the duplicated layer tornado shade.
go to the tornado shade layer, and click select>>>all. fill the entire selection with white. Set the layer mode to overlay.
using the brush tool, brush the edges of your tornado shape with black to give it a faint shadow on each side. I ended up with this:
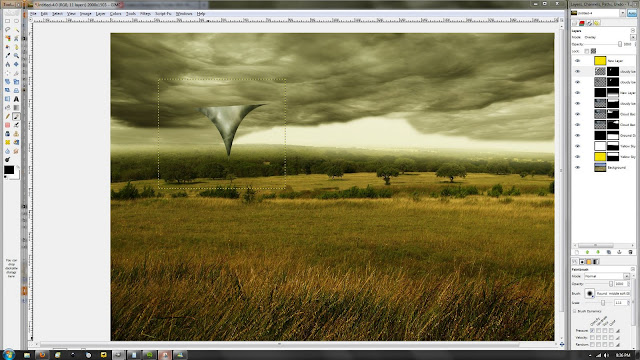 |
| I later decided the shading here was far too intense and softened it up a lot (as shown in the next image) |
Click select>>>all. fill the selection with a light gray color. Mine ended up like this:
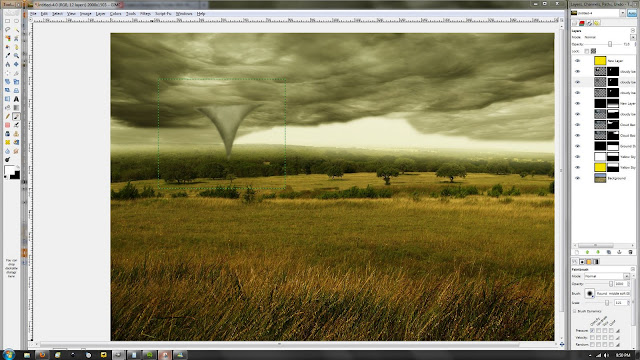 |
| Usually you don't see much of any cloudy texture in a tornado's funnel. The fade grays it out a bit. Experiment with how light/dark your gray color is until your tornado matches your cloud well. |
duplicate your cloudy background layer. Name the layer "Over Cloud"
using the scissors tool, create a funnel-shaped selection in the clouds like so:
add a layer mask to the over cloud layer. Set the mode to "selection.
using the move tool, move the over cloud layer on top of your tornado layer like so:
using a large soft black brush, fade in the left and right side of the over cloud layer by brushing on the layer mask.
scale your brush down, and repeat this process for the top side of the cloud.
click filters>>>blur>>>gaussian blur. give it a slight blur. Mine ended up like this:
duplicate your cloud layer. Set the duplicated layer mode to normal. delete the layer mask.
move the layer above your tornado.
scale the image down to where it is slightly larger than your tornado
create a layer mask. Set the mask to black
using a large soft white brush, brush around the bottom end of the tornado to create a smoky feel around the tornado. I ended up with this:
Here's the final image of my version of this:


Very useful, thank you :)
ReplyDeleteNo problem! Glad you liked it.
ReplyDeleteThank you so much for this crystal clear tutorial.
ReplyDeleteMan I'm so glad I found this blog. I love GIMP I'm still a newbie with it but I have manged to pull off a few projects using it with minimal knowledge. I will try this tutorial when I get home and provide more feedback, thanks.
ReplyDeletevery nice tutorial, i think i would try to rebuild a picture like this step by step on the weekend and give you a short response how it works.
ReplyDeleteYou guys , Step by step tutorials is more important for me .
ReplyDeleteAlways i'm appreciating your post .
ReplyDeleteAbsolutely brilliant photo editing tutorial. You made this really so easy. Thanks for sharing.
ReplyDelete