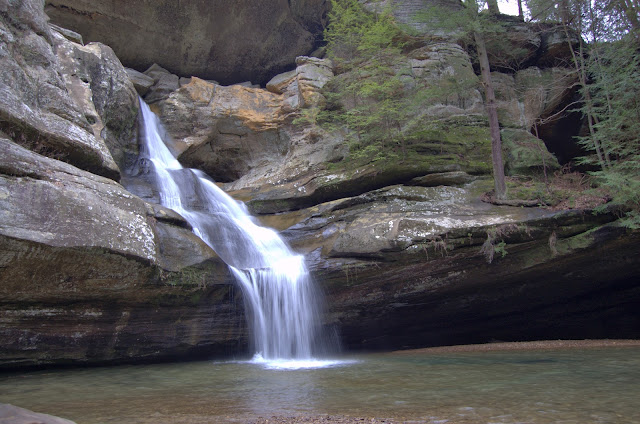
This Gimp tutorial will show you how to use gimp to turn this image:
Into this:
What You Will Need:
Part 1.) Taking the photos
This is the most important part of this tutorial, because you're going to need to have more than one version of the same image using various settings on your camera. This is a prime example of one of my free exclusive gimp lessons about "developing your photo-editor vision," that you get for
subscribing to my email list.
First off, I took my "base photo," focusing on getting the majority of the image to expose. Here is what I did.
- I set my tripod up, and framed in the shot with my camera
- I turned my ISO to the lowest possible setting, and set my camera to shutter priority
- I adjusted the shutter speed down until I got a reasonably good exposure, referring to my histogram for reference
- Once I found a good exposure, I set my camera to fire after 10 seconds, so that I wasn't touching the camera when it fired the shot
I ended up with this photo:
 |
| This shot exposed nice, but the waterfall's fast motion made the waterfall blur. |
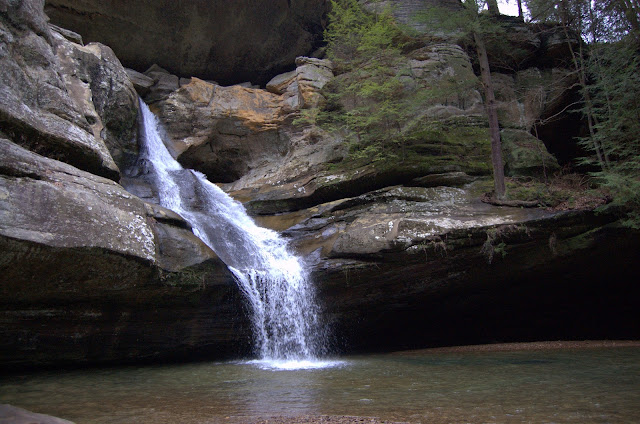
Next, I took an "auxilliary photo," which is focused primarily on getting the fast-moving waterfall to expose properly.
I turned my ISO to a much higher setting (800 I believe.) and turned my shutter speed way up. The goal here is to get the waterfall to expose better. I adjusted my shutter speed as high as I possibly could before losing the detail in the photo. I ended up with this picture:
 |
| You can't quite tell in this version, but the higher ISO setting made this image very grainy, but we don't care - all we want is the waterfall. |
Part 2 - Combining the Photos Using Gimp and UFRaw
The remainder of this lesson is in a gimp video tutorial. Enjoy!
Related Posts:
The Nature Hiking Photography Checklist.
Aperture, ISO, and Shutter speed explained.
Layer Masks Explained
The Benefits of Shooting in Raw


